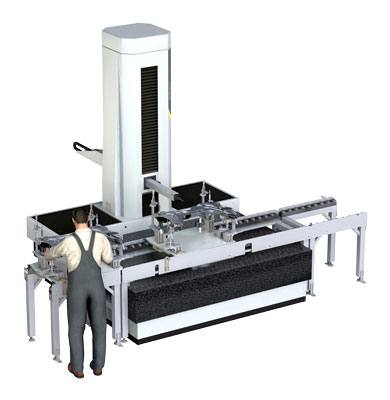
For many manufacturing businesses, a coordinate measuring machine (CMM) is an essential tool for gathering detailed feedback on the dimensions of newly produced parts. CMMs are capable of providing for more accurate metrological data than human workers can, which makes them an invaluable component in quality control regimes.

But knowing which CMM to purchase for your factory floor can be challenging. There is a bewildering array of CMMs currently available on the market, which is why it is important to make sure the one you purchase is optimal for your needs. Here are three things to consider when looking for a new or used CMM:
1. Body Style
Because CMMs need to be able to measure a dizzying variety of different kinds of part and product, there is a huge diversity in body styles.
When it comes to stationary, tactile-probe CMMs, there are four main styles: bridge, gantry, cantilever, and horizontal arm. Non-tactile-probe CMMs come in even greater variety, from white light machines to portable laser scanners and ROMER Arms. Each of these styles is optimized to meet different metrology needs, and when shopping for a new CMM, it is important to make sure that you find the style best suited to your purposes.
2. Size
As with any piece of machinery, scale is always an essential consideration. Not only is there remarkable diversity in the styles of CMM available, size can vary widely as well.
For example, the most popular style of coordinate measuring machine, the bridge CMM, is used to measure both small, complex parts like gears and cogs, but is also suited to measuring mid-sized components and even some larger parts used in the automotive and aerospace industry. Stop by Canadian Measurement Metrology to learn more if you are interested in finding out which size would fit best with the components you are producing. And if you have any doubts about which CMM is right for you, contact a metrology expert before making a purchase.
Size is less of a consideration with non-tactile CMMs. Because they use light-based measuring tools and are usually more portable, laser scanners and white light machines can measure a much wider range of parts than tactile-probe CMMs. So if you want a CMM that will offer greater versatility, a non-tactile CMM might be right for you.
3. Probe Type
The probe head is the single most important part of any CMM, and selecting a probe head that works for your needs is paramount if you want to be able to get the most out of your CMM.
Tactile probes (of which there are many different kinds) take measurements by physically coming into contact with a surface, and by plotting point clouds based on the dimensions of the surfaces it touches. While this isn’t an issue when dealing with firm surfaces, it can cause problems when parts being produced are more pliable or delicate. If a tactile probe is used to measure parts it isn’t suited for, it can introduce errors or even damage the part.
A CMM is a powerful tool that can be used to guarantee quality control, provide metrological data about prototypes, and even reverse engineer CAD blueprints from existing parts.But these functions all rely on having the right CMM for the job, which is why it is important to make sure that your CMM conforms to the style, size, and probe type best suited to measuring the particular parts your production line produces.


