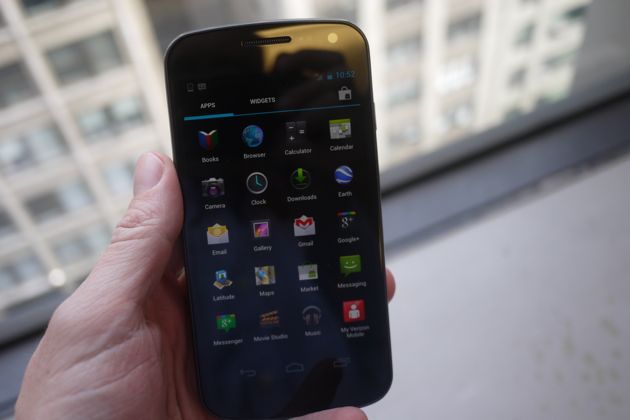
This tutorial will deal with updating your Verizon Wireless Galaxy Nexus device to the latest firmware of Jellybean 4.1. This is not an Official firmware update, released by Verizon Wireless but it is a leaked firmware update. As of now there is no news on an official release of the Jellybean firmware for VZW Galaxy Nexus. We will let you know about it, when it is released. The good thing is, this leak is based on the AOSP build which is based on the Jellybean 4.1.1 firmware. Go to Settings > Developer Options > USB Debugging, and make sure that the USB Debugging Option is enabled. Click “Ok” in the prompt. The update can be done only on a rooted device, so make sure your device is rooted before proceeding.
Disclaimer
Make sure that you carry out all the essentials and the process as mentioned by us. This process has been written by our writers at this blog and the procedure is referenced from many reliable android development forums like XDA, CM etc. We are not responsible in case you brick your device. It is highly unlikely that you brick your device, if you follow all the steps properly mentioned here.
Dont Miss: How to Update Samsung Vibrant T959 with Jellybean 4.1 based Cyanogen Mod 10 Firmware
Pre-requisites
- These Steps are only applicable for Verizon Wireless Galaxy Nexus.
- Make sure that you backup up your ROM. You can use Nandroid for this.
- Using Contacts Backup, you can back up the other important stuff like, your SMS, Contacts, Call Logs, APN Settings, and you can backup your favourite applications using Astro.
- Fully Charge your device. We don’t want your phone to turn off during the process. That would be disastrous.
- Make sure that you disable your antivirus software, because they might interrupt the process and also make sure that you uninstall KIES before proceeding.
- Go to Settings -> Applications -> Development to enable USB Debugging on your device and connect the phone to your computer to make sure the device drivers are installed.
Steps:-
- Download the Galaxy Nexus Tool Kit from the source to your hard disk. After downloading, connect your phone to your PC and place the update.zip file in the root memory of the VZW Galaxy Nexus.
- Then, you’ve to download the VZW Jellybean 4.1.1 Build & Google Apps from the source to your hard disk. Transfer both the files to the root of your device.
- Enter the fast boot mode of your Galaxy Nexus by pressing the Volume Up button + Volume Down button and then by simultaneously pressing the power button to turn ON the device into the fastboot mode.
- Then you’ve to extract and open the downloaded toolkit in your computer. Connect your Nexus to your PC with the help of the USB cable that came with the device and enter the appropriate option on which firmware your device is currently in, like 4.0.2 or 4.0.3 or in 4.0.4 update.
- After giving the correct option, select “9” and then press enter to proceed with the on screen guidelines. After that, press “1” and then hit enter to process the given command.
- You have to enter the device into recovery mode. To do the same, press the Volume up Key and Volume down Key and while holding these two keys simultaneously press the Power Button to enter into the recovery mode
2. If the Phone reboots normally, then it means you’ve missed it. So, try again. - In recovery mode, select “wipe data/factory reset” and then ‘install zip from sd card’, then select ‘choose zip from sd card’ option. Now Select Jellybean 4.1.1 Firmware package which you have placed in your device and then followed by the “Google Apps Package” which you’ve downloaded and moved to your phone previously.
- After doing that, select Go Back and select the reboot system now option to complete the process.
So, you’re done with the update. If you face any issues, do let us know via comments.


